Woods of Wisdom LLC Like fingerprints, the colors and grain patterns naturally exist within the trees
|
|

|
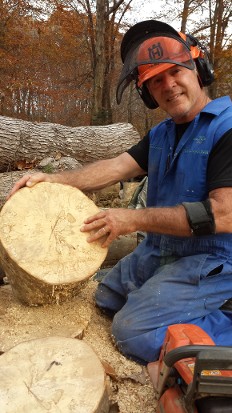
The Harvest For us, the start of the process does not involve going to the local lumber yard and choosing a piece of quality wood for turning. We often harvest our own raw materials from the front and back yards of farmers, homeowners and other individuals who are in need of having a tree removed. If we hear the music of a chainsaw, we'll always stop by and find out the vital particulars of the tree...
After the tree is on the ground (proper training for felling a tree is essential!), we begin the first step in the preparation of the wood for transport and storing. The tree is cut up into manageable sections relative to size and weight. To prevent a sudden loss of moisture to each piece cut, we apply a coat of Greenwood Sealer. This product can be found in any wood turning catalog. It's simple to apply (using a paintbrush) by generously coating the ends of each section cut from the tree. We allow time for the piece to dry, stack them in the back of our truck and keep them out of the sun as much as possible. The name of the game from this point on is making sure moisture loss is kept to a minimum which is the key to preventing cracks. Once we return to our shop, the pieces are stacked in a cool place, without wind. If we want to store them for an extended period (3-4 months) we wrap each piece in clear wrap. Cosco or Sam's Club sells an 18 - 24 inch version that works wonders. It's now time to clean up our gear and celebrate the harvest! We all agree that this has been the most enjoyable aspect of the process! Harvesting a tree is nothing short of exciting! Click here to read about the next step: The Initial Shape |
